Tails installieren durch Klonen
Tails aktualisieren durch Klonen
In diesem Schritt werden Sie Ihr Tails von dem anderen verrübergehenden Tails unter Verwendung von Tails Cloner aktualisieren.
Stecken Sie den neuen USB-Stick Ihres Tails in den Computer.
Alle Daten auf diesem USB-Stick werden verloren gehen.
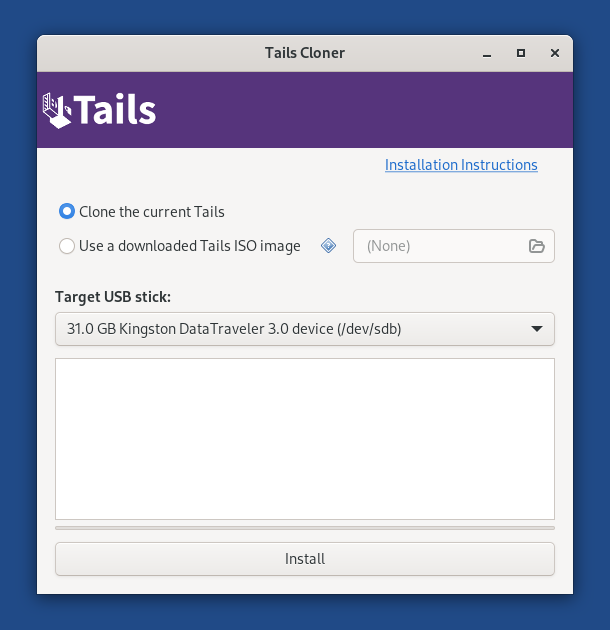
Wählen Sie um Tails-Kloner zu starten.
If the other Tails has a Persistent Storage, another option Clone the current Persistent Storage is available.
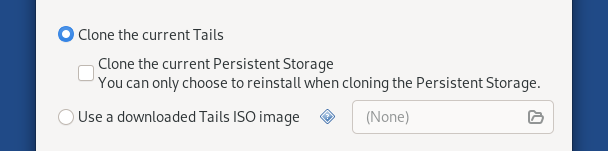
If you leave the option Clone the current Persistent Storage deselected, the Persistent Storage of your Tails USB stick will be preserved when upgrading and the Persistent Storage of the other Tails will not be copied.
If you select the option Clone the current Persistent Storage, the Persistent Storage of the other Tails will also be copied when upgrading. You will lose all the data in your Persistent Storage, if you have one.
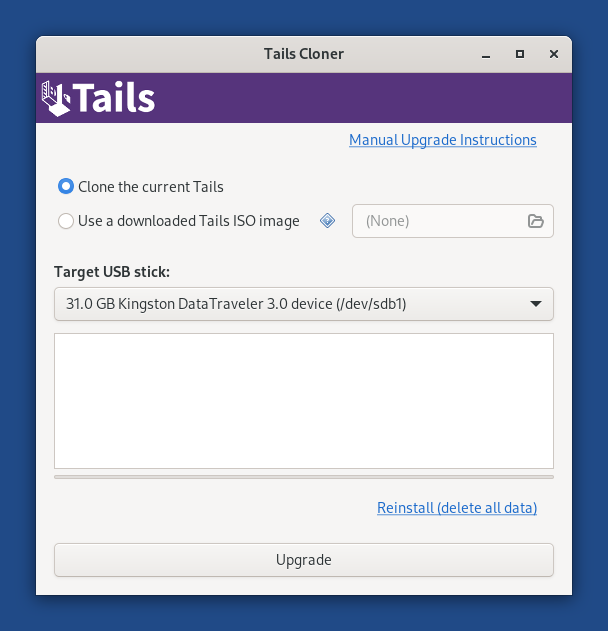
Wählen Sie das neue Ihr USB-Stick im Menü Ziel-USB-Stick aus.
Um die Installation zu starten, klicken Sie auf den Installieren-Button. Aktualisierung, klicken Sie auf den Aktualisieren-Button.
Lesen Sie die Warnmeldung im Bestätigungsfenster.
There is currently no confirmation dialog when upgrading. (#20247)
Click Delete All Data and Install to confirm.
The installation upgrade takes a few minutes.
The progress bar usually freezes for some time while synchronizing data on disk.
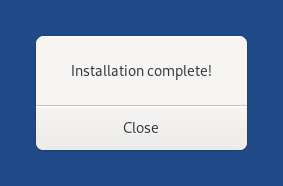
After the installation finishes, close Tails Cloner.
You made it!
You are done upgrading Tails. You can now restart on your Tails USB stick.
Congratulations on staying safe :)
Read the release notes of Tails 6.2 to see what's new.