Instalar Tails clonando
Actualiza tu Tails clonando
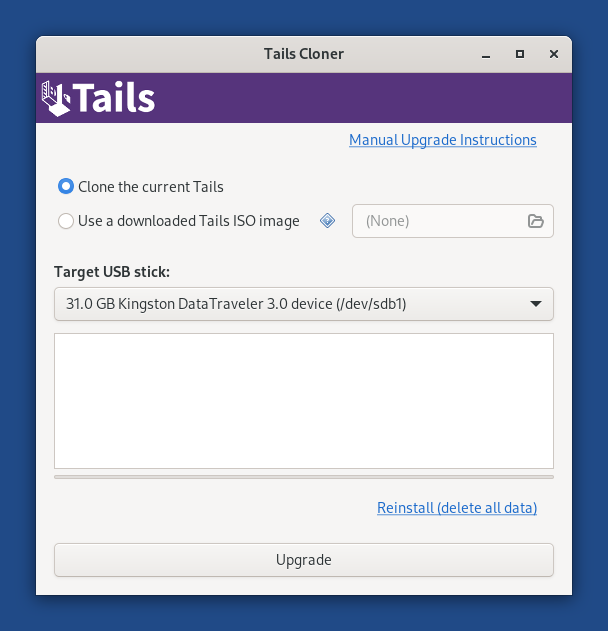
In this step, you will upgrade your Tails from the other intermediary Tails using Tails Cloner.
Plug the new your Tails USB stick into the computer.
All the data on this USB stick will be lost.
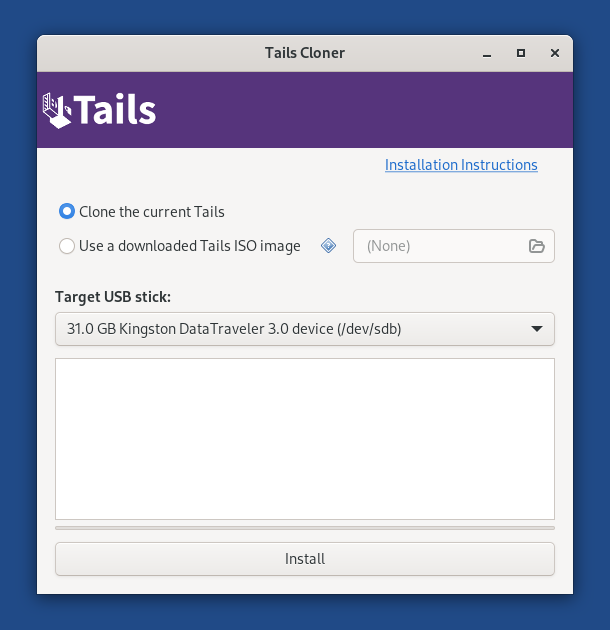
Choose to start Tails Cloner.
If the other Tails has a Persistent Storage, another option Clone the current Persistent Storage is available.
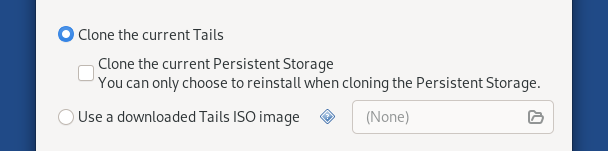
If you leave the option Clone the current Persistent Storage deselected, the Persistent Storage of your Tails USB stick will be preserved when upgrading and the Persistent Storage of the other Tails will not be copied.
If you select the option Clone the current Persistent Storage, the Persistent Storage of the other Tails will also be copied when upgrading. You will lose all the data in your Persistent Storage, if you have one.
Choose the new your USB stick in the Target USB stick menu.
To start the installation, click on the Install button. upgrade, click on the Upgrade button.
Lee el mensaje de advertencia en el diálogo de confirmación.
There is currently no confirmation dialog when upgrading. (#20247)
Click Delete All Data and Install to confirm.
The installation upgrade takes a few minutes.
La barra de progreso se detiene a veces por un momento mientras se sincroniza la información en el disco.
After the installation finishes, close Tails Cloner.
You made it!
You are done upgrading Tails. You can now restart on your Tails USB stick.
Congratulations on staying safe :)
Read the release notes of Tails 6.2 to see what's new.