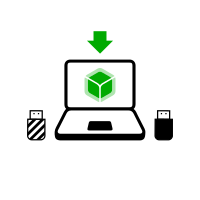
Что вам понадобится:
1 флешка
Only for Tails!
8 GB minimum
Ваш Tails
1 флешка
All data will be lost!
8 GB minimum
Windows 7
or later
macOS 10.10
Yosemite
or later
Linux
any distribution
Debian
Ubuntu
or another derivative
Another Tails
USB stick or DVD
Intel processor
not Apple M1 or M2
Smartphone
or printer
to follow the instructions
1 hour in total
½ hour
¼ hour
1.4 GB to download
½ hour to install
½ hour to upgrade
Detailed system requirements and recommended hardware.
Summary
Tails works on:
- Most PC computers that are less than 10 years old
- Some older Mac computers with an Intel processor
Tails does not work:
- Newer Mac computers with an Apple processor (M1 or M2)
- Smartphones or tablets
- Raspberry Pi
Tails might not work on:
Some older computers, for example, if they don't have 2 GB of RAM.
Some newer computers, for example, if their graphics card is incompatible with Linux. Nvidia or AMD Radeon cards often do not work in Tails.
See our list of known hardware compatibility issues.
Detailed hardware requirements
A USB stick of 8 GB minimum or a recordable DVD.
All the data on this USB stick or DVD is lost when installing Tails.
The ability to start from a USB stick or a DVD reader.
A 64-bit x86-64 IBM PC compatible processor.
2 GB of RAM to work smoothly.
Tails can work with less than 2 GB RAM but might behave strangely or crash.
Recommended hardware
Laptop models evolve too rapidly for us to be able to provide an up-to-date list of recommended hardware. Below are some guidelines if you, or your organization, are considering acquiring a laptop dedicated to running Tails.
For PC
Avoid "gaming" models with Nvidia or AMD Radeon graphics cards.
Consider buying a refurbished laptop from a high-end (professional) series. These are cheaper and will last longer than new but lower-quality laptops.
For example, the Lenovo ThinkPad series work well with Tails, including the X250, X1 Carbon, T440, T480, and T490 models.
If you live in a part of the world where buying refurbished laptops is uncommon, look on eBay and Amazon. Amazon offers a 90-day Amazon Renewed Guarantee.
Consider buying a new laptop from vendors who guarantee the compatibility with Linux and Tails like ThinkPenguin.
For Mac
Unfortunately, we don't know of any Mac model that works well in Tails and can run the latest macOS version.
Ваши шаги
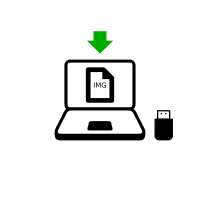
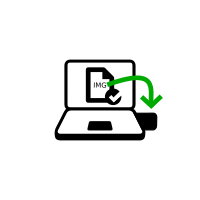
Download Tails
Download Tails
Download the upgrade
Verify your download

Verify your download

Verify your download

Restart on the other Tails

Download balenaEtcher
Install balenaEtcher
Download balenaEtcher
Install balenaEtcher
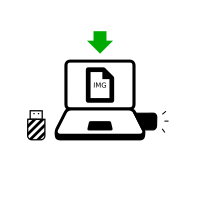
Install Tails using balenaEtcher
Install Tails using GNOME Disks
Install Tails using dd
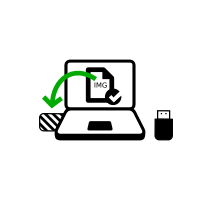
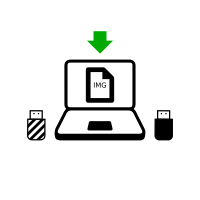
Install intermediary using balenaEtcher
Install intermediary using GNOME Disks
Install intermediary using GNOME Disks

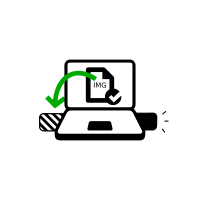
Restart on your Tails USB stick
Restart on intermediary

Restart on intermediary
Install Tails by cloning
Upgrade your Tails by cloning

Restart on your new Tails

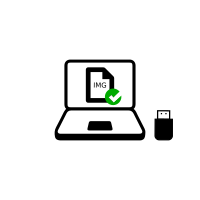
Welcome to Tails!
Well done!
You have installed Tails on your USB stick.
In the next step, you will make your computer start on this USB stick.
Tails might not work on your computer, so good luck!
If you already started on the other Tails, go directly to step 3: Verify that the other Tails is up-to-date.
Open these instructions on another device
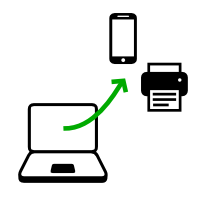
In the next step, you will shut down the computer. To be able to follow the rest of the instructions afterwards, you can either:
Scan this QR code on your smartphone or tablet:


Print these instructions on paper.
Take note of the URL of this page:
https://tails.net/install/windows?back=1
https://tails.net/install/mac?back=1
https://tails.net/install/linux?back=1
https://tails.net/install/expert?back=1
https://tails.net/install/clone/pc?back=1
https://tails.net/install/clone/mac?back=1
https://tails.net/upgrade/tails?back=1
https://tails.net/upgrade/windows?back=1
https://tails.net/upgrade/mac?back=1
https://tails.net/upgrade/linux?back=1
https://tails.net/upgrade/clone?back=1
Restart on the intermediary Tails
Restart on the other Tails
Restart on your Tails USB stick

Загрузите компьютер с флешки
-
Make sure that you have installed Tails using either:
Click on the Start
 button.
Press and hold the Shift key while you choose Power ▸ Restart.
На экране Выбор действия выберите Использовать устройство.

If the Choose an option screen or the Use a device option don't appear, refer to the instructions on starting Tails using the Boot Menu key.
На экране Использовать устройство выберите Boot Menu (меню загрузки).
Windows завершит работу, компьютер перезагрузится, появится загрузочное меню.
Подключите вашу флешку Tails сразу после выбора загрузочного меню (пока Windows завершает свою работу).
В дальнейшем мы Мы рекомендуем подключать флешку Tails только во время завершения работы Windows. Иначе какой-нибудь вирус в Windows может заразить флешку и поставить её безопасность под сомнение.
Such an attack is possible in theory but very unlikely in practice. We don't know of any virus capable of infecting Tails. See our warning on plugging Tails in untrusted systems.
Загрузочное меню содержит список устройств, с которых можно загрузить ваш компьютер. На следующем скриншоте показан пример загрузочного меню.
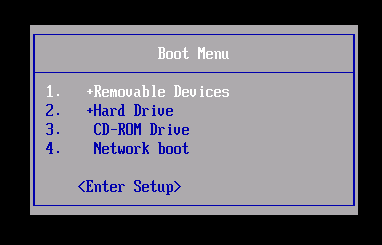
В загрузочном меню выберите вашу флешку и нажмите Enter.
Если компьютер загружается с Tails, появится загрузчик, и Tails запустится автоматически через 4 секунды.
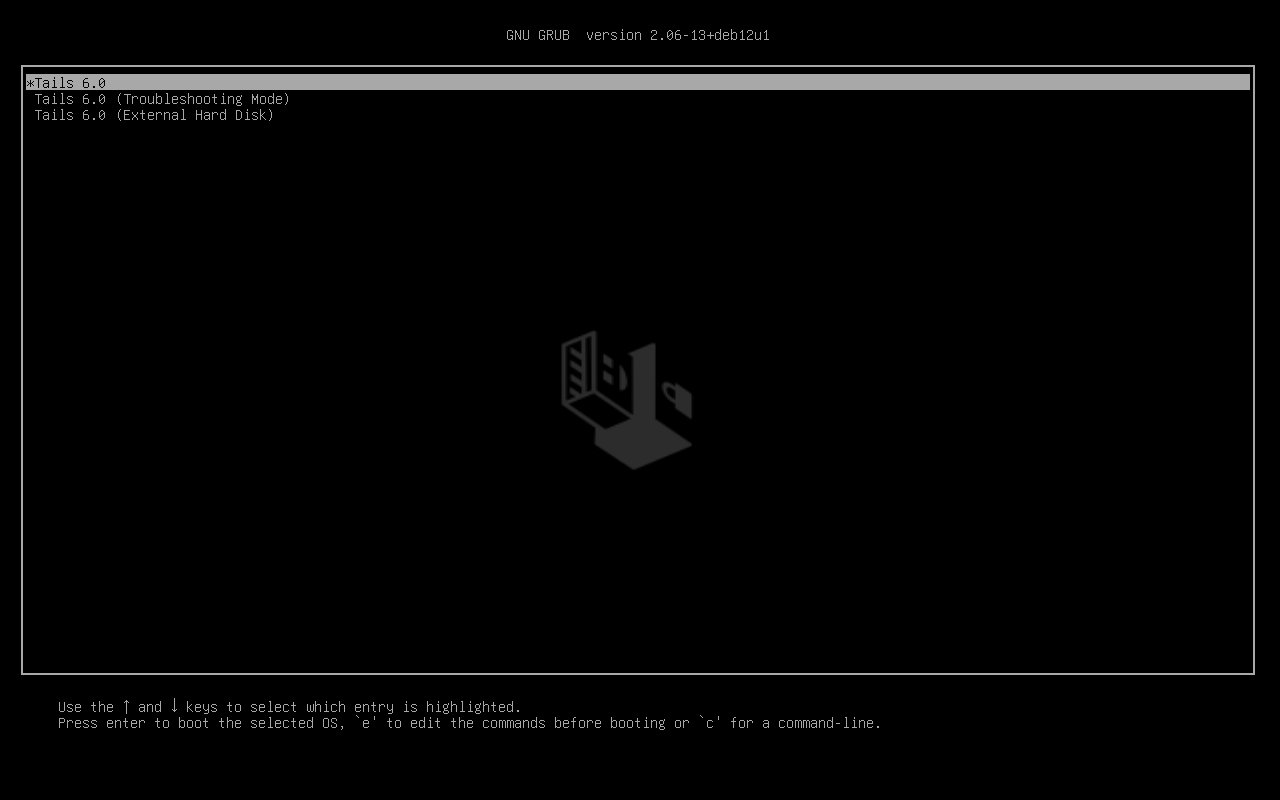
The Troubleshooting Mode entry disables some features of the Linux kernel and might work better on some computers. You can try this option if you think you are experiencing hardware compatibility errors while starting Tails.
The External Hard Disk entry makes it possible to start from an external hard disk and some problematic USB sticks.
Большинство компьютеров не загрузится с флешки Tails автоматически. Нужно нажать клавишу и выбрать, с какого устройства загрузиться.
Если на компьютере также установлена система Windows 8 или 10, можете обратиться к нашим инструкциям о запуске Tails из Windows 8 или 10. Запуск из Windows проще, чем с выбором загрузчика.
Пример загрузочного меню:
На этом видео примерно показано, как использовать клавишу для вызова меню загрузчика и загрузки с флешки:
Здесь мы перечислим шаги, которые расскажут, как использовать клавишу загрузочного меню и стартовать с флешки:
-
Make sure that you have installed Tails using either:
-
Выключите компьютер, но оставьте флешку подключённой.
Выключите компьютер и подключите флешку Tails.
Выключите компьютер.
Plug in the other Tails USB stick that you want to install upgrade from.
Вытащите флешку Tails, но оставьте промежуточную флешку подключённой.
-
Определите, какую клавишу нажимать, чтобы вызвать меню загрузчика. Это зависит от производителя компьютера. Примеры:
Производитель Клавиша Acer F12, F9, F2, Esc Apple Option Asus Esc Clevo F7 Dell F12 Fujitsu F12, Esc HP F9 Huawei F12 Intel F10 Lenovo F12, Novo MSI F11 Samsung Esc, F12, F2 Sony F11, Esc, F10 Toshiba F12 Others… F12, Esc На многих компьютерах на короткое время появляется сообщение, как попасть в меню загрузчика или изменить настройки BIOS.
-
Switch on the computer.
Immediately press several times the first possible Boot Menu key identified in step 2.
-
Если на компьютере начнёт загружаться другая операционная система или появится сообщение об ошибке, выключите компьютер снова и повторите шаг 3 с другими возможными клавишами (см. шаг 2).
Если появится загрузочное меню со списком устройств, выберите вашу флешку и нажмите Enter.
Если компьютер загружается с Tails, появится загрузчик, и Tails запустится автоматически через 4 секунды.
-
Make sure that you have installed Tails using either:
-
Shut down the computer.
Выключите компьютер, но оставьте флешку подключённой.
Подключите другую флешку Tails, с которой вы хотите выполнить установку.
-
Plug in your Tails USB stick.
-
Switch on the computer.
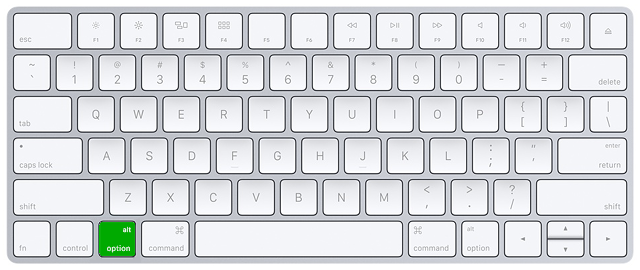
Immediately press-and-hold the Option key (⌥ or Alt key) when the startup sound is played.
Hold the key pressed until a list of possible startup disks appears.
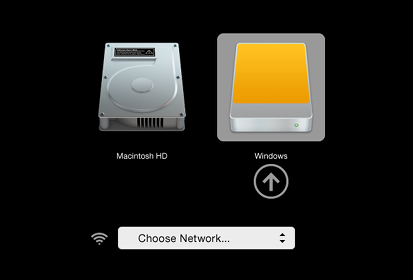
-
Выберите флешку и нажмите Enter. Флешка выглядит в списке как внешний жёсткий диск и может называться EFI Boot или Windows, как на этом скриншоте:
Если флешки нет в списке загрузочных дисков:
Wait 2–3 minutes and try again. Some USB sticks need some rest after installing.
Try all other USB ports on the computer. Some USB ports cannot be used to start from.
Make sure that you have installed Tails using either:
Make sure that you have verified your download of Tails.
Make sure that you have verified your download.
-
Try to install again on the same USB stick.
Try to install again on the same USB stick.
Try to install again on the same USB stick.
Try to install again on the same USB stick.
Try to install again on the same USB stick.
Try to install again on the same USB stick.
Try to install again on the same USB stick.
Try to install again on the same USB stick.
Try to install again on the same USB stick.
Try to install again on the same USB stick.
Try to install again on the same USB stick.
Try to install again on the same USB stick.
Try to install on a different USB stick.
Try to use the same USB stick to start on a different computer.
Если на компьютере по-прежнему не виден список вариантов загрузки, возможно, на этом компьютере в принципе нельзя запустить Tails.
-
Ваш компьютер может показать следующую ошибку:
Security settings do not allow this Mac to use an external startup disk.
Вам следует изменить настройки безопасности с помощью Startup Security Utility, чтобы можно было загрузить Tails.
Запускаем Startup Security Utility.
Turn on your Mac, then press and hold Command(⌘)+R immediately after you see the Apple logo. Your Mac starts up from macOS Recovery.
When you see the macOS Utilities window, choose Utilities ▸ Startup Security Utility from the menu bar.
Если видите требование об аутентификации, нажмите Ввести пароль для macOS, выберите учётную запись администратора и введите пароль к ней.
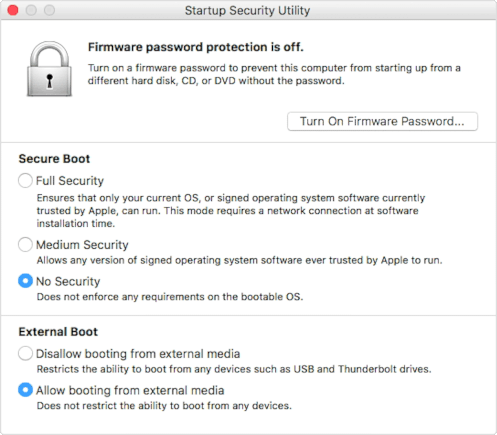
В Утилите безопасной загрузки:
в разделе Безопасная загрузка выберите Функции безопасности отключены;
в разделе Загрузка с внешнего носителя выберите Разрешить загрузку с внешних носителей.
Чтобы по-прежнему защитить ваш Mac от загрузки с сомнительных внешних носителей, можно установить пароль прошивки. Эта функция доступна в macOS версии Mountain Lion или более свежей. Тот, у кого нет пароля прошивки, сможет запустить систему только с жёсткого диска по умолчанию.
Если забудете пароль прошивки, вам придётся лично обращаться за помощью в магазин Apple Store или к авторизованному провайдеру услуг Apple.
Техподдержка Apple предлагает дополнительную информацию.
Если компьютер загружается с Tails, появится загрузчик, и Tails запустится автоматически через 4 секунды.
The Troubleshooting Mode entry disables some features of the Linux kernel and might work better on some computers. You can try this option if you think you are experiencing hardware compatibility errors while starting Tails.
The External Hard Disk entry makes it possible to start from an external hard disk and some problematic USB sticks.
Troubleshoot Tails not starting
-
If no Boot Menu appears, refer to the instructions on starting Tails using the Boot Menu key.
-
If none of the possible Boot Menu keys from the previous technique work, refer to the troubleshooting instructions about Tails not starting at all.
-
If the Boot Menu appears but your USB stick is not listed in the Boot Menu:
Wait 2–3 minutes and try again. Some USB sticks need some rest after installing.
Try all other USB ports on the computer. Some USB ports cannot be used to start from.
-
If your USB stick is listed in the Boot Menu but the Boot Loader does not appear:
If your USB stick appears in the list of startup disks but the Boot Loader does not appear:
Wait 2–3 minutes and try again. Some USB sticks need some rest after installing.
Try all other USB ports on the computer. Some USB ports cannot be used to start from.
Make sure that you have installed Tails using either:
Make sure that you have verified your download of Tails.
Make sure that you have verified your download.
-
Try to install again on the same USB stick.
Try to install again on the same USB stick.
Try to install again on the same USB stick.
Try to install again on the same USB stick.
Try to install again on the same USB stick.
Try to install again on the same USB stick.
Try to install again on the same USB stick.
Try to install again on the same USB stick.
Try to install again on the same USB stick.
Try to install again on the same USB stick.
Try to install again on the same USB stick.
Try to install again on the same USB stick.
Try to install on a different USB stick.
Try to use the same USB stick to start on a different computer.
Если ваш компьютер не показывает загрузчик, в настоящее время может быть невозможно запустить Tails с этого компьютера.
-
If the Boot Loader appears but Tails fails to start after the Boot Loader, refer to the troubleshooting section about Tails not starting after the Boot Loader. the troubleshooting section about Tails not starting after the Boot Loader.
Загрузка компьютера из загрузочного меню может быть быстрее, чем загрузка сначала Windows, а затем Tails. Если вы пользуетесь Tails регулярно, советуем научиться тому, как запускать Tails из меню загрузчика.
Apple does not prioritize collaborating with Free Software projects. Their newest hardware is usually very hard for Free Software developers to get working with Linux, and thus Tails. PC hardware tends to be more open and work better with Linux.
Welcome to Tails!
Starting Tails
After the Boot Menu, a loading screen appears.

One to two minutes after the Boot Loader and the loading screen, the Welcome Screen appears.
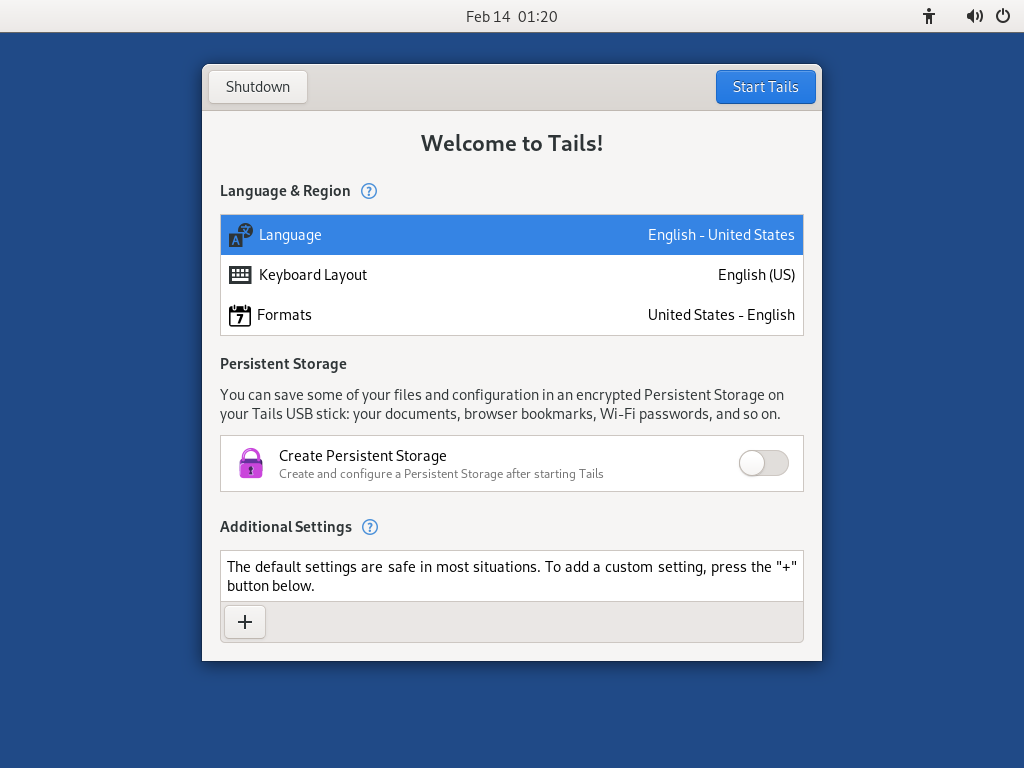
In the Welcome Screen, select your language and keyboard layout in the Language and Formats section. Click Start Tails.
If your keyboard or touchpad doesn't work, try using a USB keyboard or mouse.
Через 15–30 секунд появится рабочий стол Tails.

Насколько свежая версия Tails?
To prevent installing upgrading to an outdated version of Tails with known security issues, make sure that the Tails you are installing upgrading from is up-to-date:
Choose .
Убедитесь, что используете Tails от .
а) Если вы используете , можете перейти к следующему шагу.
b. If you are not running 6.1 then connect to the Internet and to Tor. After a minute or two, Tails Upgrader appears with instructions on how to upgrade. Apply all upgrades as requested.
Install Tails by cloning
Upgrade your Tails by cloning
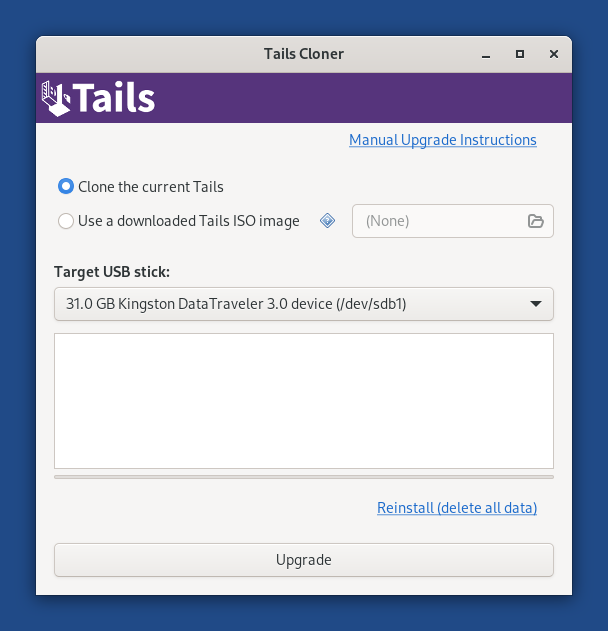
In this step, you will upgrade your Tails from the other intermediary Tails using Tails Cloner.
Plug the new your Tails USB stick into the computer.
All the data on this USB stick will be lost.
Choose to start Tails Cloner.
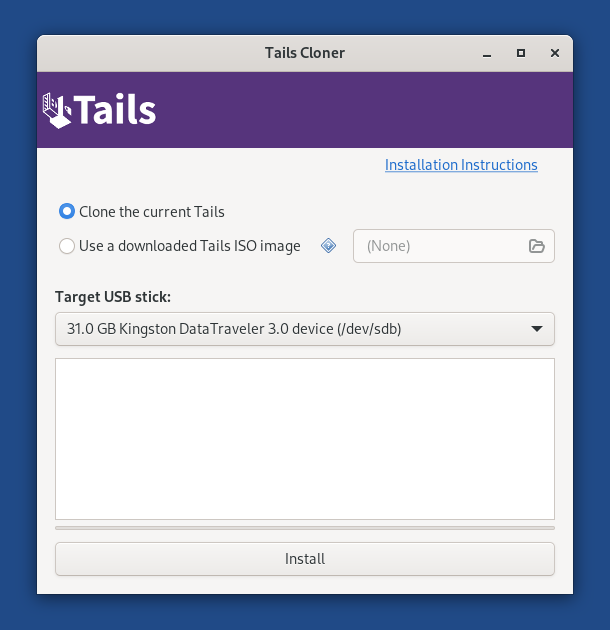
If the other Tails has a Persistent Storage, another option Clone the current Persistent Storage is available.
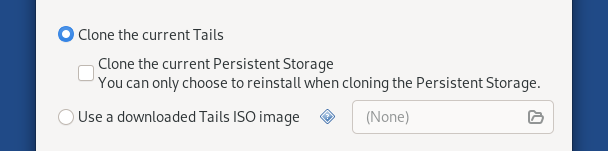
If you leave the option Clone the current Persistent Storage deselected, the Persistent Storage of your Tails USB stick will be preserved when upgrading and the Persistent Storage of the other Tails will not be copied.
If you select the option Clone the current Persistent Storage, the Persistent Storage of the other Tails will also be copied when upgrading. You will lose all the data in your Persistent Storage, if you have one.
Choose the new your USB stick in the Target USB stick menu.
To start the installation, click on the Install button. upgrade, click on the Upgrade button.
Прочтите предупреждение в диалоговом окне.
There is currently no confirmation dialog when upgrading. (#20247)
Click Delete All Data and Install to confirm.
The installation upgrade takes a few minutes.
Прогресс-бар обычно задерживается во время синхронизации данных на диске.
After the installation finishes, close Tails Cloner.
You made it!
You are done upgrading Tails. You can now restart on your Tails USB stick.
Congratulations on staying safe :)
Read the release notes of Tails 6.1 to see what's new.
Restart on your new Tails
Выключите компьютер.
Отключите другую флешку и оставьте включённой новую флешку.
Включите компьютер и запустите Tails со своей новой флешки.
Появится загрузчик, и Tails запустится автоматически через 4 секунды.
Через 30–60 секунд появится экран приветствия.
In the Welcome Screen, select your language and keyboard layout in the Language and Formats section. Click Start Tails.
Через 15–30 секунд появится рабочий стол Tails.
Welcome to your new Tails!
You made it!
You managed to start your new Tails on your computer!
Congratulations on staying safe :)
To continue discovering Tails, read our documentation.
Test your Wi-Fi
Problems with Wi-Fi are unfortunately quite common in Tails and Linux in general. To test if your Wi-Fi interface works in Tails:
Откройте системное меню в правом верхнем углу.
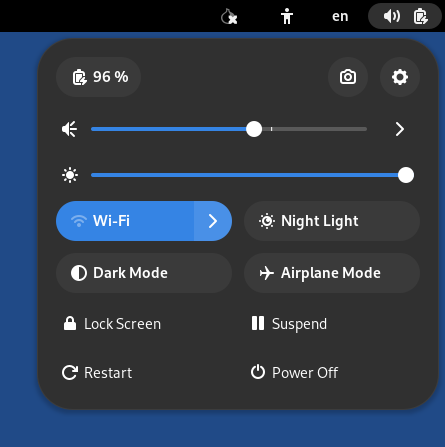
Choose Wi-Fi Not Connected and then Select Network.
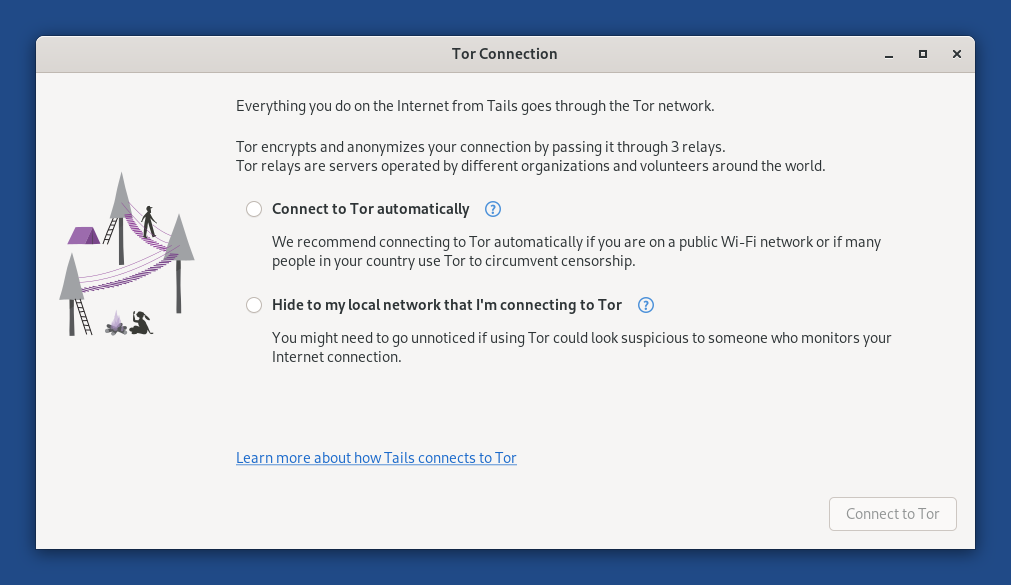
After establishing a connection to a local network, the Tor Connection assistant appears to help you connect to the Tor network.
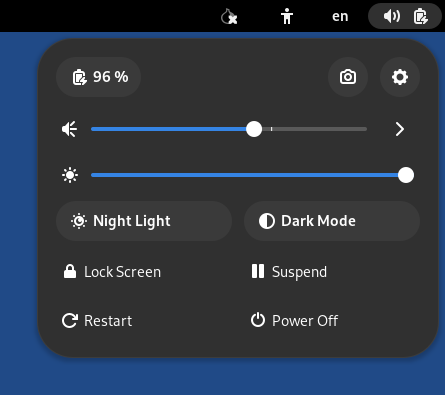
If your Wi-Fi interface is not working, you might experience the following:
There is no Wi-Fi menu in the system menu:
The interface is disabled because MAC address anonymization failed:
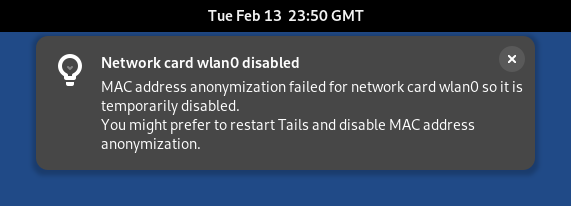
In this case, you can disable MAC address anonymization in the Welcome Screen. Doing so has security implications, so read carefully our documentation about MAC address anonymization.
The following notification appears:
Activation of network connection failed
To connect to the Internet, you can try to:
Use an Ethernet cable instead of Wi-Fi if possible. Wired interfaces work much more reliably than Wi-Fi in Tails.
Share the Wi-Fi or mobile data connection of your phone using a USB cable. Sharing a connection this way is called USB tethering.

See instructions for:
-
Only sharing mobile data works on iPhones and iPads; sharing Wi-Fi does not work.
Tails cannot hide the information that identifies your phone on the local network. If you connect your phone to a:
Wi-Fi network: the network can see the MAC address of your phone.
This has security implications that we explain in our documentation on MAC address anonymization. Some phones have a feature to hide the MAC address of the phone.
Mobile data network: the network is able to know the identifier of your SIM card (IMSI) and the serial number of your phone (IMEI).
-
Buy a USB Wi-Fi adapter that works in Tails:
Vendor Model Size Speed Price Buy offline Buy online Panda Wireless Ultra Nano 150 Mbit/s $18 No Amazon Panda Wireless PAU05 Small 300 Mbit/s $65 No Amazon ThinkPenguin TPE-N150USB Nano 150 Mbit/s $74 No ThinkPenguin If you find another USB Wi-Fi adapter that works in Tails, please let us know. You can write to tails-support-private@boum.org (private email).
Check in our list of known Wi-Fi issues if there is a workaround to get your Wi-Fi interface to work in Tails.